
December 16th


For the side rails I used an old drawer front from another dresser that was demolished.

I used them because of they already had the space for the mattress board.
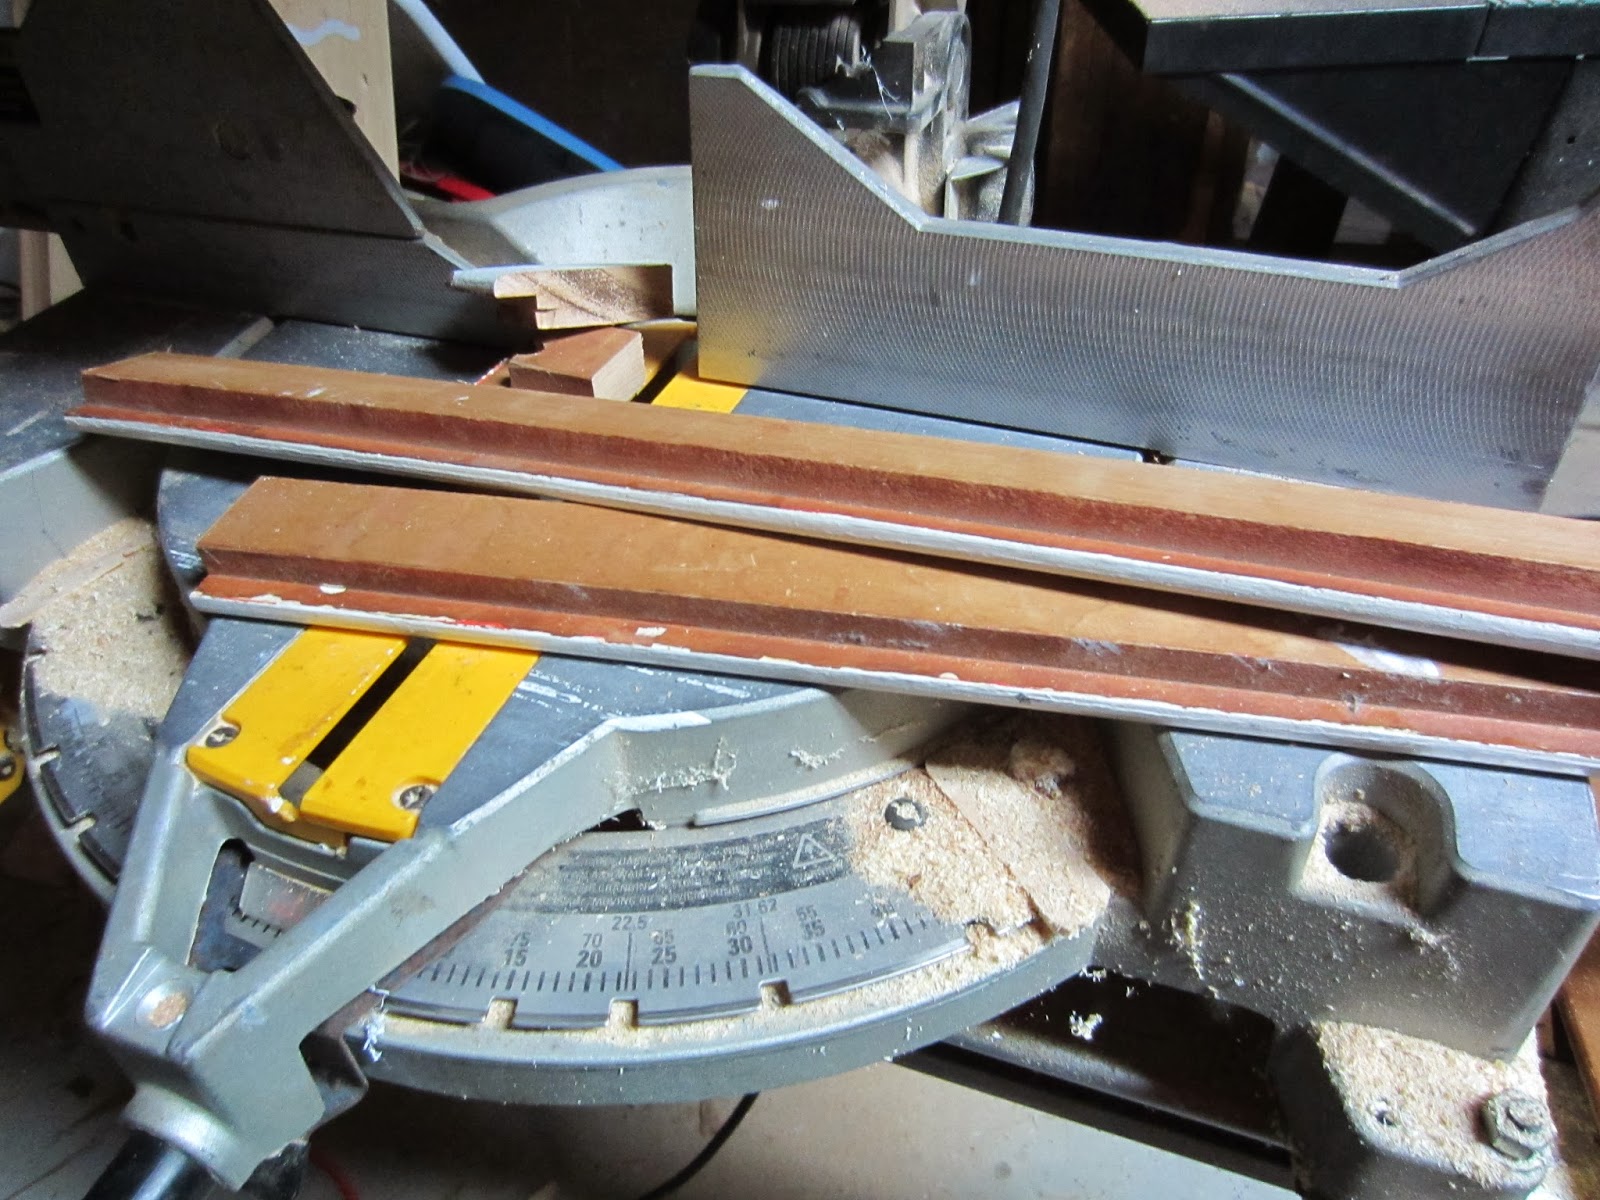
In the meantime I cut parts for the loft bed.

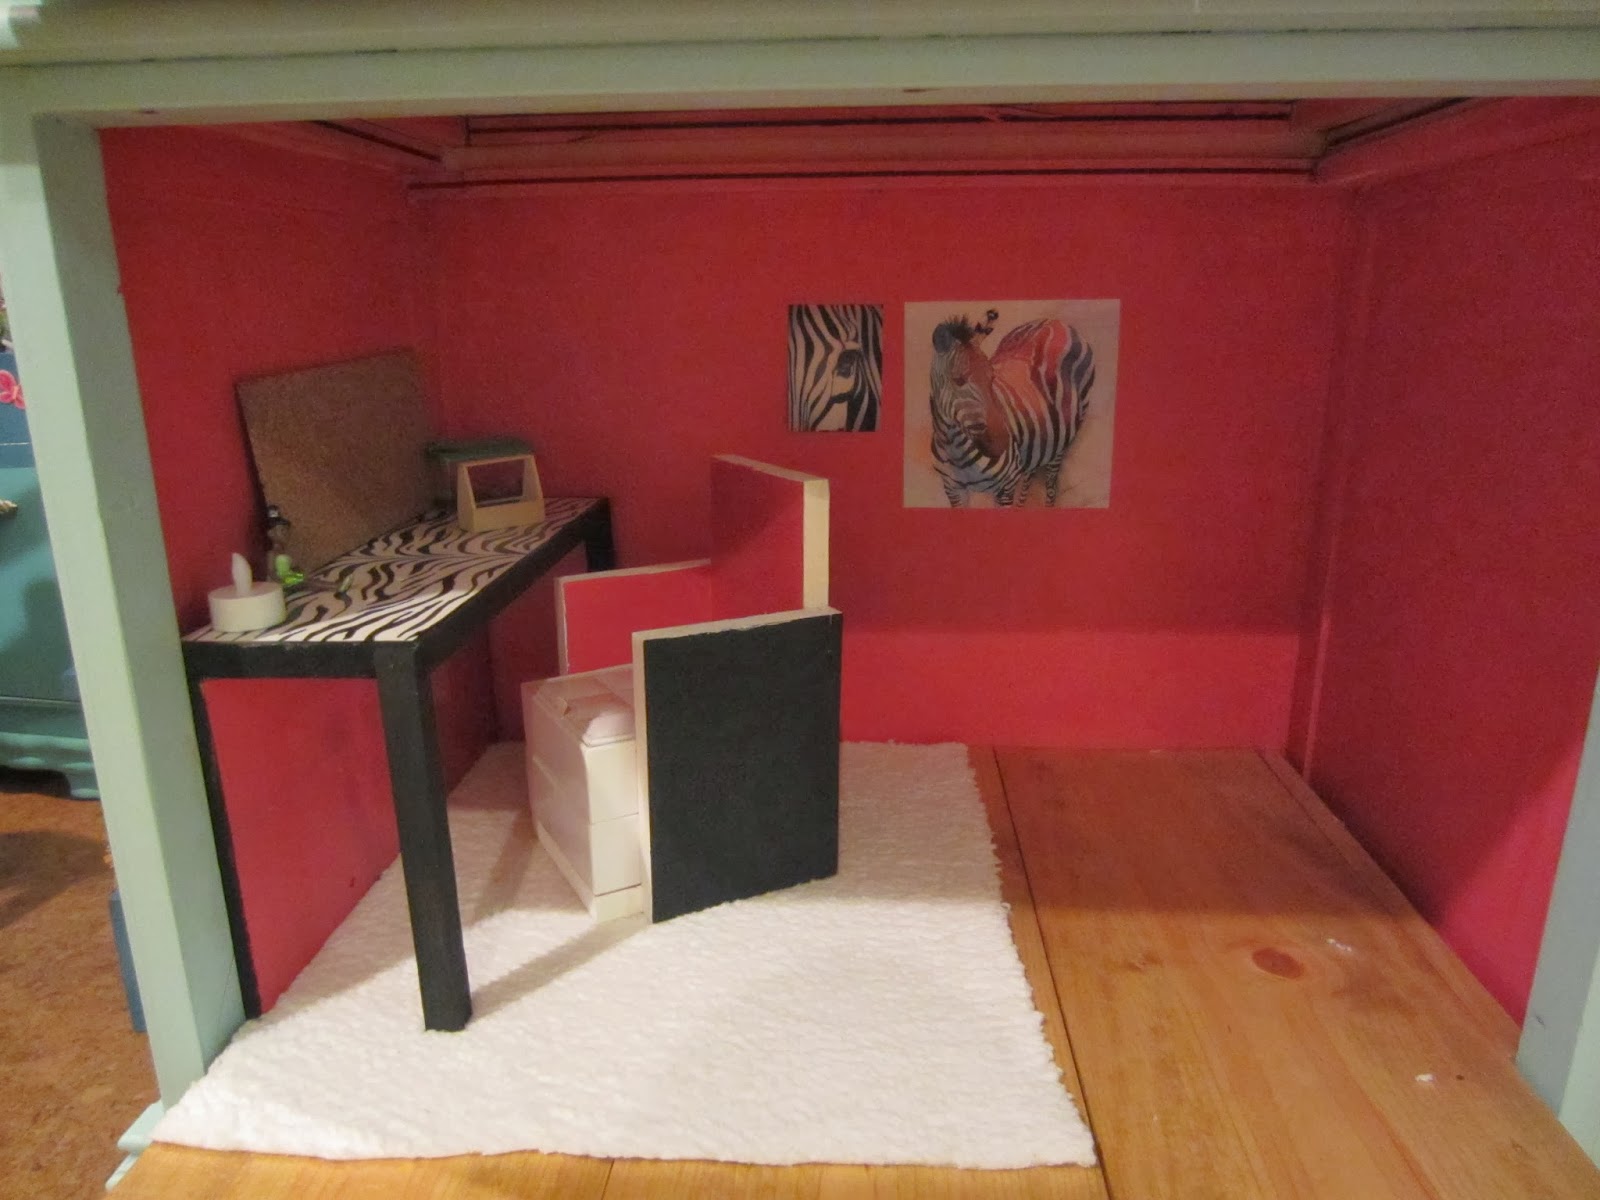
Started painting the walls.

Made a desk which was later painted in a zebra pattern.

I decided the extend the floor space to fit more furniture in. The cabinet was a small display cabinet that had broken glass.
The flooring was made from the demolished ramp.

I used a style from the Ana White site but decided to add safety rails.

December 23, made some accessories and sewed the bedding..

December 24th, saw some cute battery operated lights at Target and decided to add them.
Tasha painted the chair. The base of the chair is an old jewelry box bought at Goodwill for $2.


The headboard was stenciled and the entire bed was aged to match the cabinet. The bed is adorable.
I sewed a comforter, two pillows and two pillow cases. I almost finished an extra pillow but need to hand stitch it closed.

There are still a lot of things that can be added and with time Larissa can add whatever she wants.
The house is a big hit, all the kids play with it throughout the day.
No comments:
Post a Comment