Quick and easy fairy tutorial....
Start with a pipe cleaner folded in half

Decide what to use for the hair. There are many different types of yarn that can be used. Fold your yard at least twice the final length that you want it to be. You can trim it in the end, better too long than too short.
If you are making a hanging fairie the make your hanger.

Center both the hanger and the hair in the fold of the pipe cleaner.

Put a large bead up the pipe cleaner and firmly against the hair. If the bead falls out then you need more hair.

Fold the pipe cleaner out at the head keeping the bead tight against the hair. The tightness is needed to keep the hair in place.

Fold two arms.

Take apart some artificial flowers and pick two or more petals. Also decide on your color of thread.

Tie the thread to the body by going criss cross.

Cross the thread across the body several times securing the arms.

Wrap the thread around the arm and up to the hand and back. Do both arms.

Wrap the thread around the body to the waist.

If you want to make a standing fairy then eat some pistachios and save the shells.

You can wrap the legs as well.

Feed the legs into the flower petals and hot glue in place.

If you are hanging her then you are done with the body at this point.

To stand the fairy drill two tiny holes in the shells and determine the left and right foot.

Put the pipe cleaner feet into the holds and bend the pipe cleaner into the shells.

Fill the shell with hot glue and place some felt on the bottom while the glue is hot.

Trim the felt and position your fairy to stand. At this point you can trim the hair, paint a face and any other accessories you want to add. I put a bit of hot glue to the back of the head and press some hair into it to keep hair on the back.
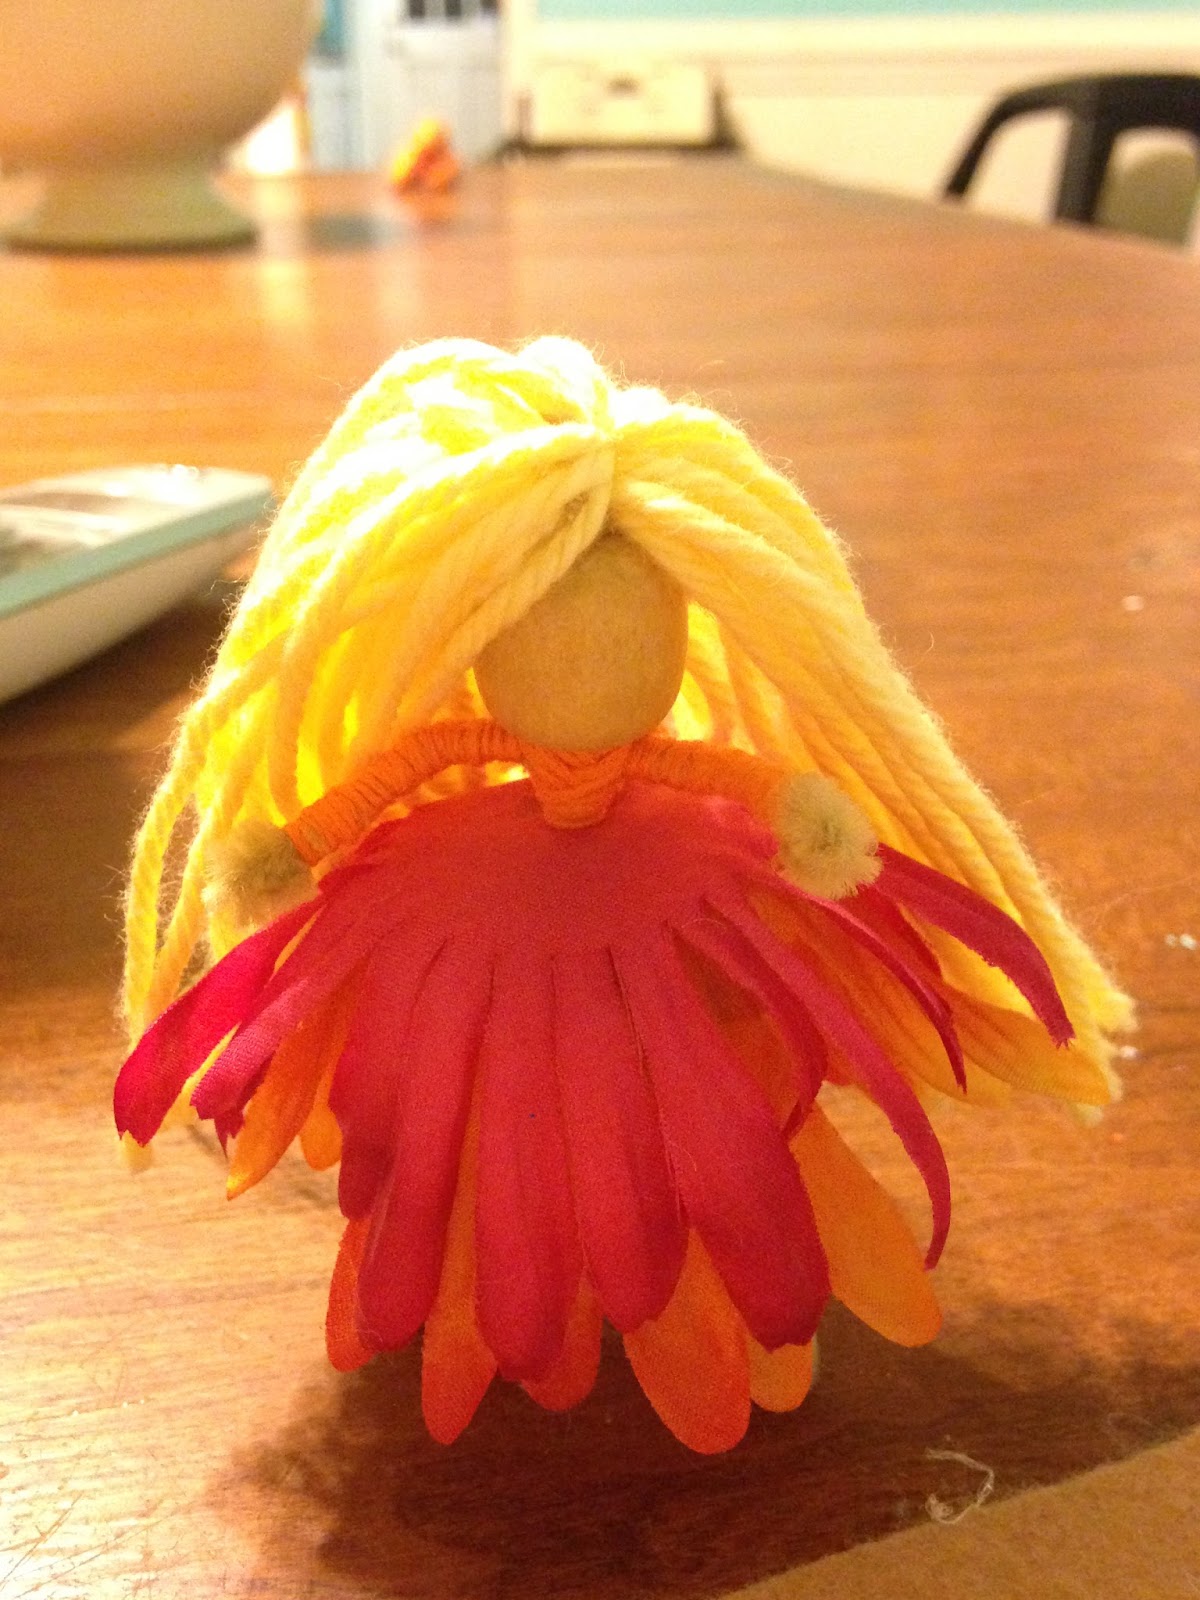
You will have to play with her a bit to get her balance, she can stand on her own.


No comments:
Post a Comment